You've designed your custom patchbay sticker, we've printed and cut it and now it's time for you to apply it. Here are our tips for perfecting the application.
You'll need:
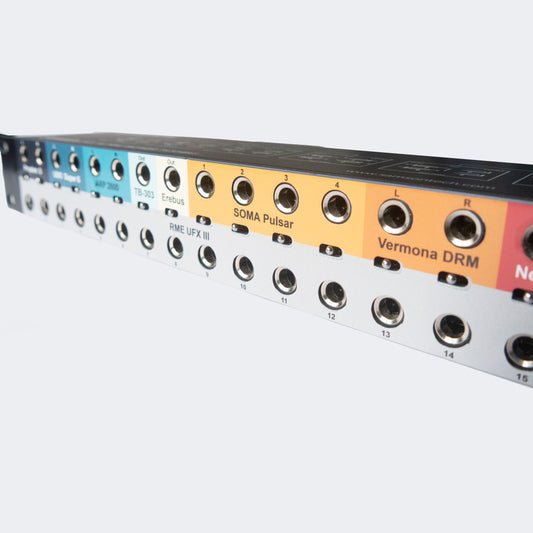
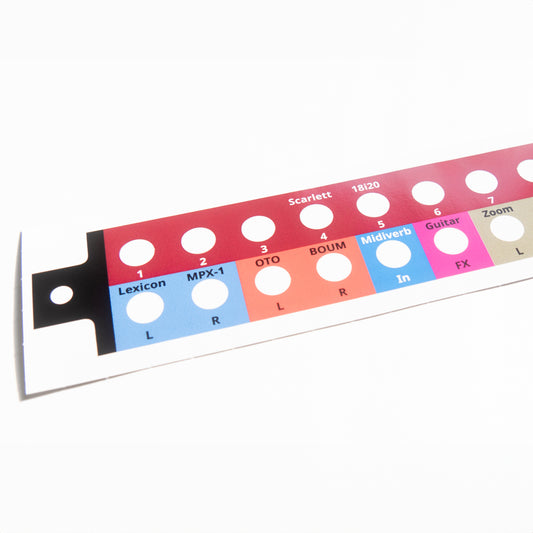
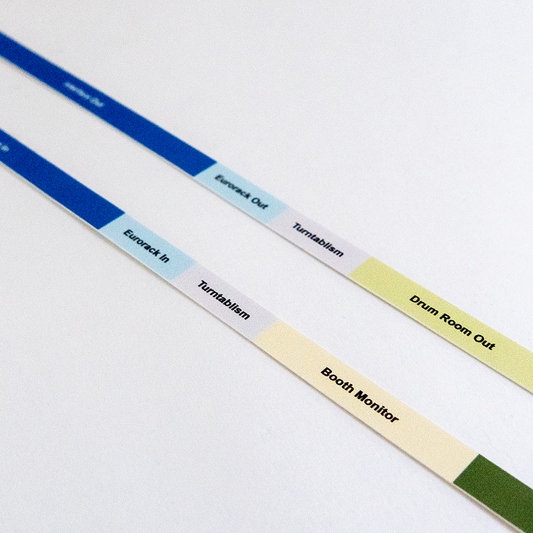
- Your custom audio label/patchbay labels
- A credit card/ruler/other flat plastic straight edge
- Cleaning stuff and lint-free cloth
Remove your patch bay from its rack or mount before you apply the label.
Clean off any dust, grime, fingerprints or other yuck that has accumulated on your patch bay's face-plate to ensure you get good adhesion from the label. Small bits of fluff can cause bubbles under your label so make sure your patchbay is completly clean and dry.
Prop up your patchbay so that you can have both hands free to apply the label.
Peel up one end of the label from the backing sheet and carefully line it up with the corresponding edge on your patchbay. When you're happy with the alignment, gently touch the adhesive surface to the patch bay's face-plate. Don't apply pressure yet, in case you need to make adjustments later.
Carefully unpeel more of the label from its backing and continue to ensure it remains properly aligned with the patch bay as you unpeel and lightly apply it to the face-plate.
When you're happy with the alignment, use a credit card, ruler, or other plastic straight edge and squeegee along the length of the label to squeeze out any air bubbles and ensure good adhesion.
- If your patchbay label is going on wonky, gently remove the label and try again. Your label can be carefully repositioned if applied lightly but the adhesive will become more bonded with pressure and becomes harder to reposition over time.
- Take care not to stretch your label. Multiple application attempts can cause stretching which will spoil the alignment of the cut-outs on your label.